Connecting to AllStarNode Using TORUN HT Digi: A Step-by-Step Guide
Are you looking to connect your radio to AllStarNode but want to use a TORUN HT Digi?
The TORUN HT Digi is a versatile and cost-effective solution for
connecting your radio to AllStarNode. It simplifies the setup process
while delivering reliable performance for transmitting and receiving
audio.
What You’ll Need
Before we dive into the setup, ensure you have the following:
A Raspberry Pi running AllStarNode
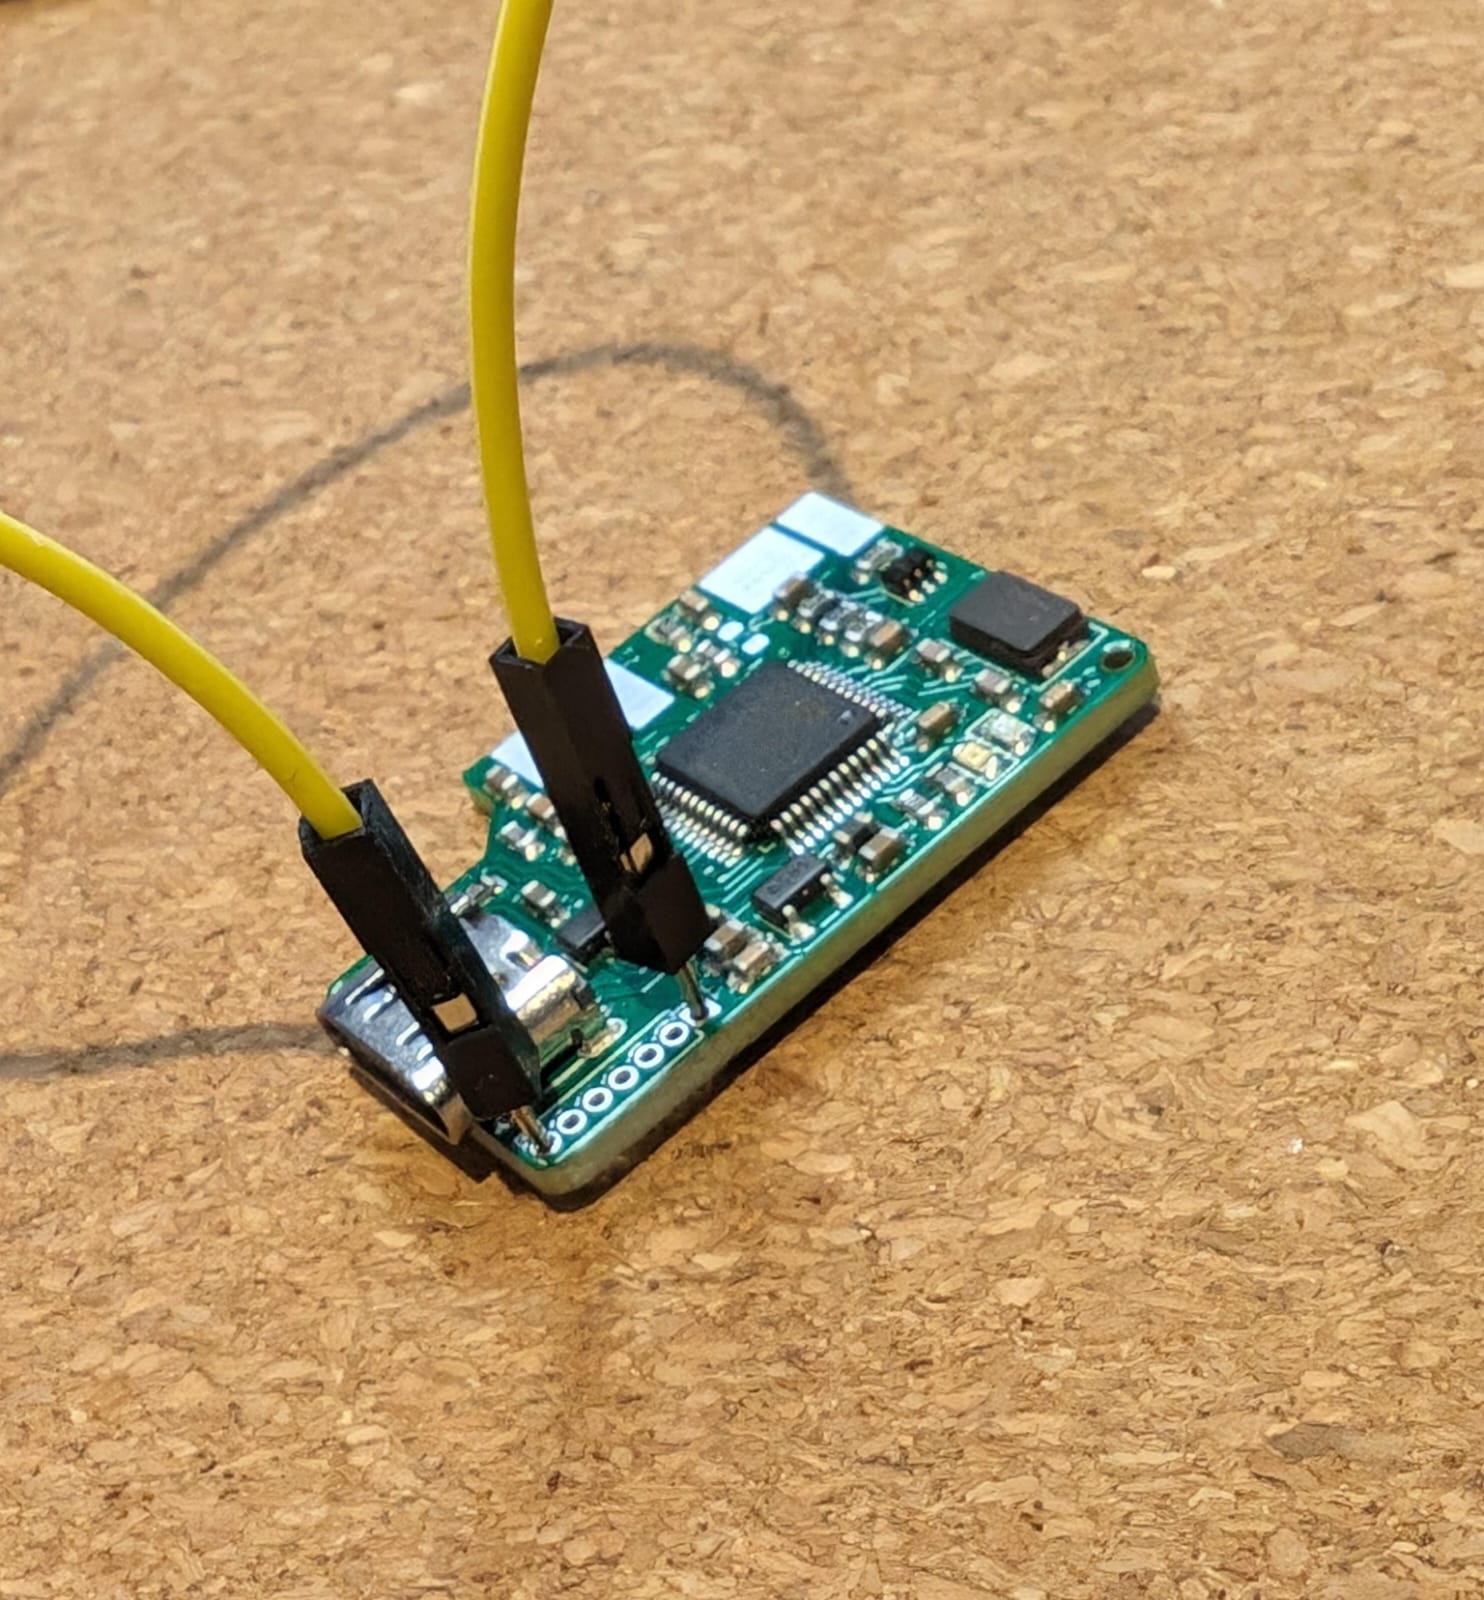
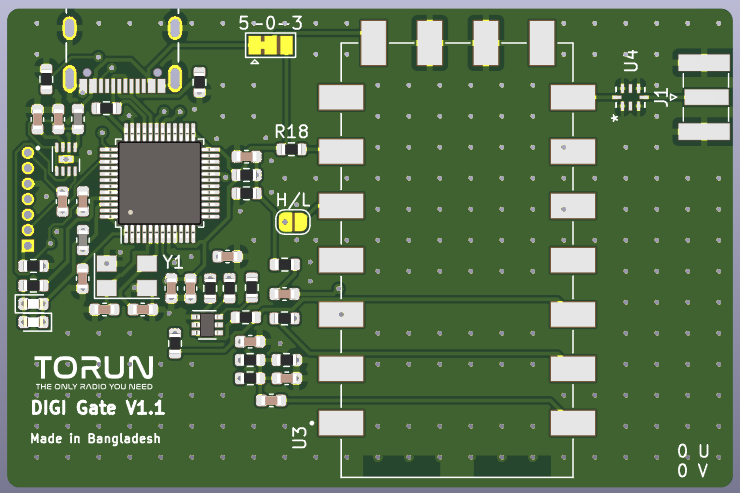
TORUN HT Digi interface
Your radio (HT or mobile)
USB cables and necessary connectors
An SD card with AllStarNode installed
Step-by-Step Setup Guide
Step 1: Prepare Your Raspberry Pi
Insert the SD card with AllStarNode into your Raspberry Pi if it’s not already installed.
Connect the TORUN HT Digi to one of the USB ports on the Pi.
Connect your radio to the TORUN HT Digi using the appropriate cables for TX, RX audio, and PTT.
Step 2: Boot Up AllStarNode
Power on your Raspberry Pi and boot into AllStarNode.
Access the AllStarNode admin menu to configure your settings.

Step 3: Configure SimpleUSB Settings
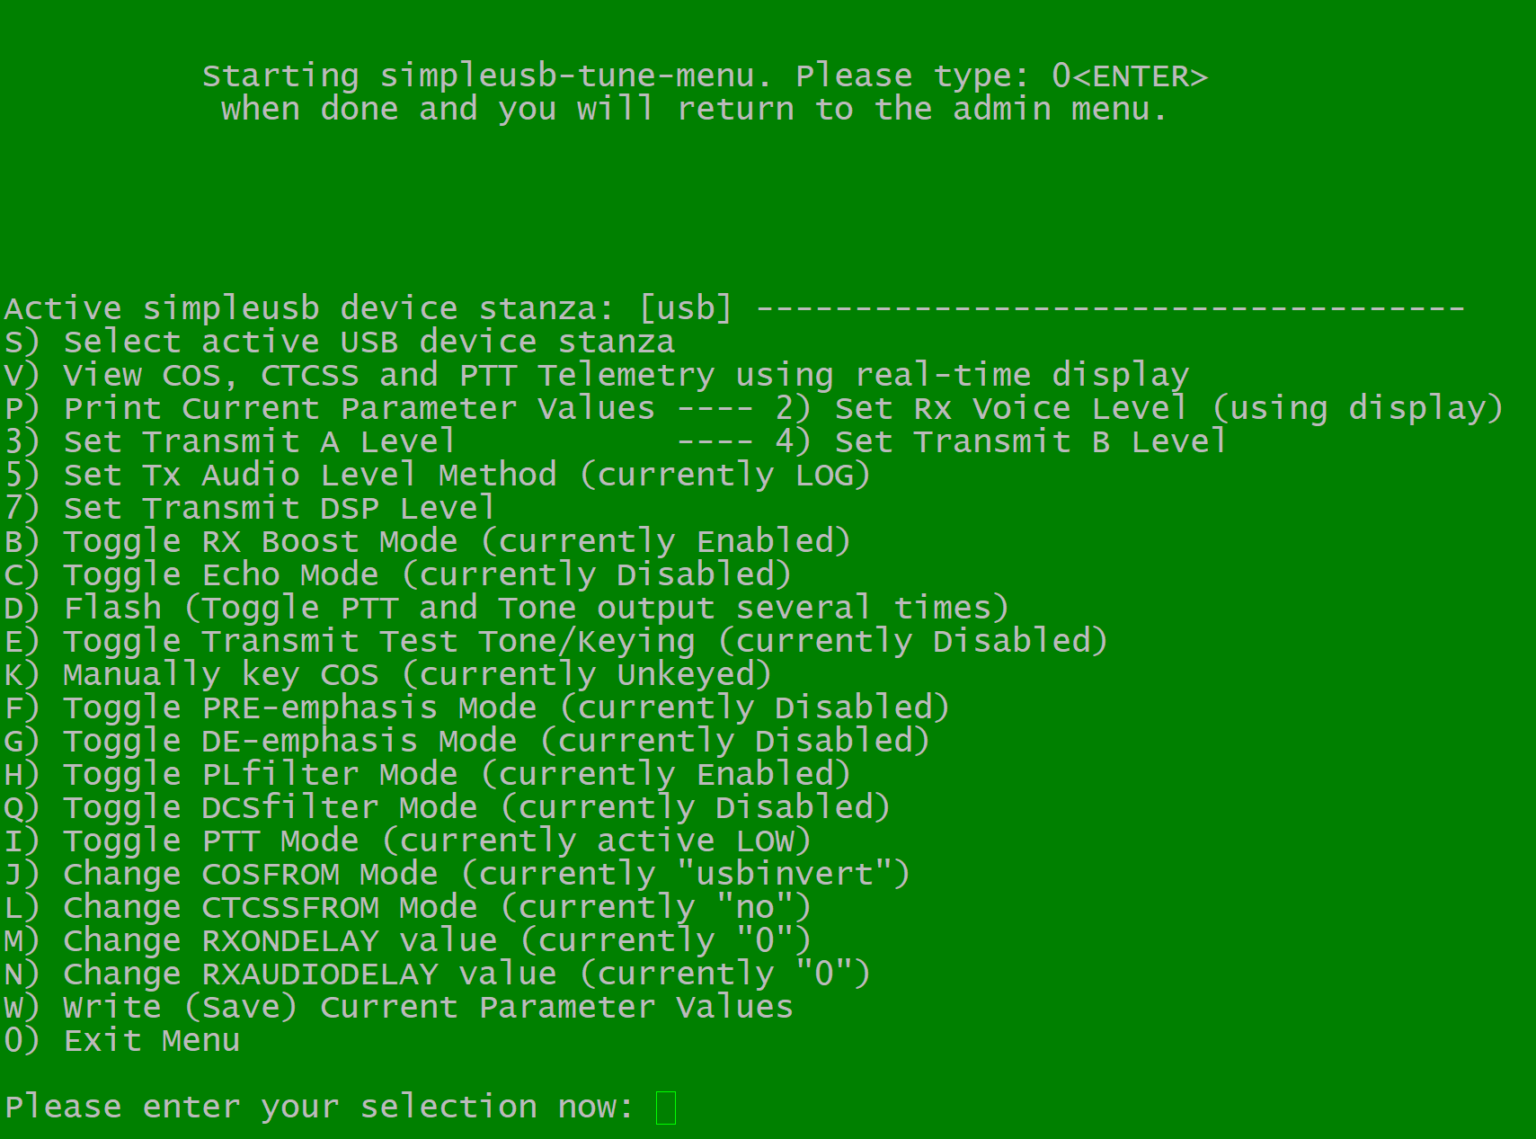
To ensure proper functionality, you’ll need to adjust the SimpleUSB settings in the AllStarLink “simpleusb-tune menu”:
Set Option I: PTT Mode to ‘active LOW’.
Set Option J: COSFROM to ‘usbinvert’.
Set Option L: CTCSSFROM to ‘no’.
These settings ensure that the transmit and carrier sense functions work correctly with the TORUN HT Digi.
Step 4: Tune Audio Levels
Use the SimpleUSB tune menu to adjust the audio levels.
Set the RX audio level using option 3.
Set the TX audio level using option 2.
Remember, the volume knob on your radio will significantly affect the RX audio level, so adjust it accordingly.
Step 5: Test and Go Live
Once the audio levels are set, you’re ready to connect to AllStarNode and start using your radio with the TORUN HT Digi. Test the setup by making a few calls and fine-tuning the audio levels if necessary.


