Built-in SA818 UHF/VHF · Original CM108B · OLED Status Display · 50Ω LPF · Raspberry Pi Hat · Designed by S21RC, Made in Bangladesh 🇧🇩
The DiGi Gate V2 isn't a stripped-down USB dongle with a radio glued to the side. It's a complete, purpose-engineered digital gateway that eliminates every pain point amateur radio operators face when building an AllStarLink node.
No more rats' nest of external wires. No more audio drift. No more wondering if your signal is clean. Every component — from the original CM108B chip to the integrated 50Ω impedance matching board — is selected and tuned for one goal: perfect AllStarLink performance.
UHF/VHF module onboard — no external radios, no messy cables, no PTT hacks.
50Ω impedance-matched board with Low Pass Filter delivers 72dB harmonic suppression.
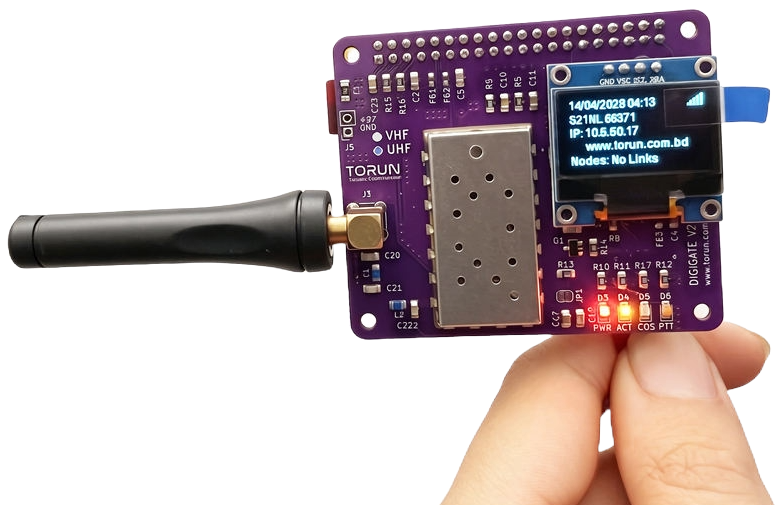
See IP, node number, callsign, WiFi signal, RX/TX status and connected nodes at a glance.
Resettable fuse keeps your Raspberry Pi safe without ever needing to buy a replacement.
LIVE OLED SIMULATION
For the first time in any AllStarLink interface, the DiGi Gate V2 brings a real-time status dashboard directly on the board. No more SSH sessions just to check if your node is up. One glance tells you everything.
AllStarLink IP Address — Always know your node's network address
Node Number & Callsign — Confirm your identity at a glance
WiFi Signal Strength — Visual bars showing real-time connectivity
RX / TX Status — Live transmit & receive indicators
Connected Nodes List — See who's linked right now
180° Rotation Support — Flip display orientation from the CLI
✓ SOFTWARE v1.3.1 — CLI menu · Screen rotation · Clean screensaver
From unboxing to a live AllStarLink node — here's exactly how to do it. No guesswork. No forum hunting. Just follow the steps.
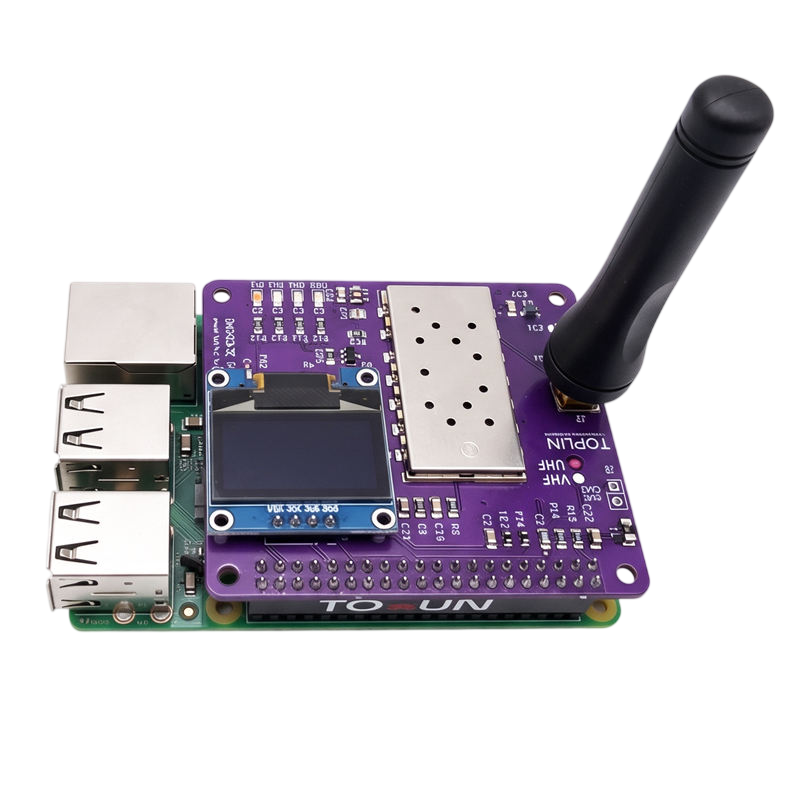
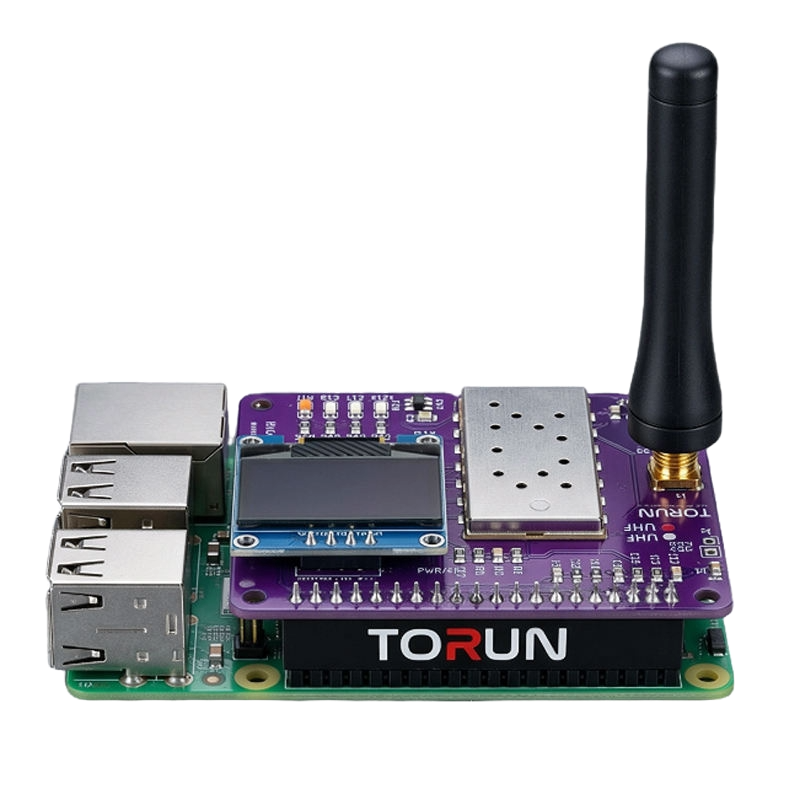
Mount the DiGi Gate V2 onto your Raspberry Pi's 40-pin GPIO header. The board is specifically shaped to align perfectly with Pi 3, 4, and 5. Attach the included SMA antenna to the RF connector. Connect power leads to your Pi's power supply (5V, min 2.5A recommended).
Flash AllStarLink 3 onto your Raspberry Pi's SD card. The official AllStarLink image is available at allstarlink.org. Follow their first-boot wizard to register your node and configure basic settings.
Clone the official DiGi Gate OLED repository and run the installer. This sets up the display service and enables real-time node monitoring.
Launch the DiGi Gate configuration menu to personalize your display. Set your callsign, node number, and display orientation — all from a simple terminal interface.
Use the SA818-MENU utility to configure the radio module's frequency, CTCSS/DCS tones, squelch level, and TX power. The DiGi Gate V2 fully supports this tool for professional radio programming.
Select Hi/Low power via the hardware jumper on the board — no software needed.
With everything configured, your OLED will light up showing your IP, node number, callsign, and live status. Connect to your node from any AllStarLink client and start communicating. Your DiGi Gate V2 is live.
✓ OLED Active ✓ AllStarLink 3 Connected ✓ SA818 Online
Learn how to set up your DiGi Gate V2 and see it performing live on the AllStarLink network.
Operated by licensed amateur radio operators. Every board is tested before shipping. We ship worldwide from Dhaka, Bangladesh.
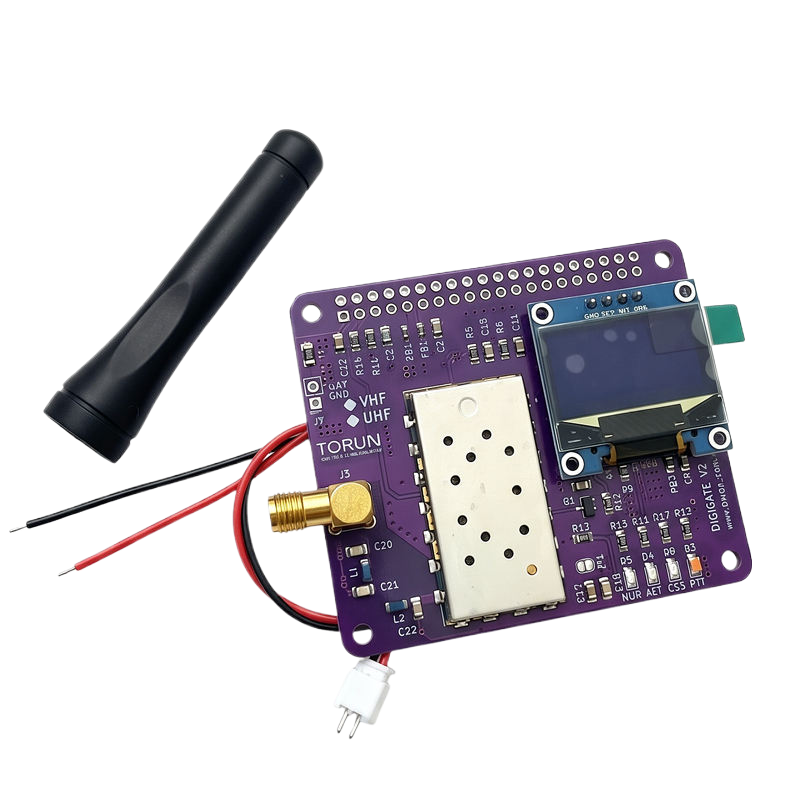
Complete package — board + antenna + power leads
Distributor or Bulk Order?
We offer competitive pricing for resellers and club purchases. Ask for a custom quotation.
TORUN isn't a corporate electronics company that stumbled into amateur radio. We are amateur radio operators — licensed, passionate, and deeply embedded in the global ham radio community. Every member of our team holds a callsign.
The DiGi Gate V2 was born from frustration with the compromises in existing AllStarLink interfaces. So we designed one from scratch — engineered specifically for the rigors of digital amateur radio operation, and built to last.
Proudly designed by S21RC and manufactured in Dhaka, Bangladesh 🇧🇩. From a country with a thriving amateur radio community, to operators everywhere.
DHAKA, BANGLADESH
www.torun.com.bd